I've seen lately on the local forums people insisting that a refret is never simple. Well it really depends on you define 'simple'. For me, a refret is certainly tedious and requires a fair bit of elbow grease; when done meticulously. Most refrets do not require acute repair diagnostic skills as the neck is in good shape.
On the issue of a job being 'simple', it is always simple in so far as the repairman is applying the right diagnosis and methods to fix it. Things become awry when the initial diagnosis is wrong. To draw a medical analogy, a doctor who identifies the wrong symptoms will prescribe the wrong medicine and this may result in irreversible damage. What is 'simple' is relative to the tools of the beholder. When you have more knowledge and practice, a repairman learns how to identify the symptoms much like a doctor would. Ok, enough philosophical banter from me; the proof is in the pudding.
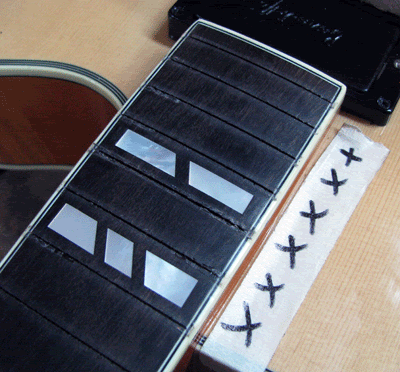
Here is an Eastman archtop which is brand new but unfortunately needs a refret as the fingerboard is uneven at many parts. This will be illustrated clearly as I post pics of the process. I'll classify this as a rare case but being able to fix this would require good knowledge of reading the neck and a certain level of intuition.
Here goes:
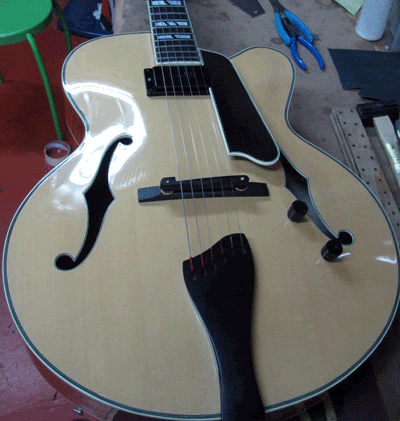
Beautiful Eastman: Great overall construction, beautiful tone but shoddy fretwork!
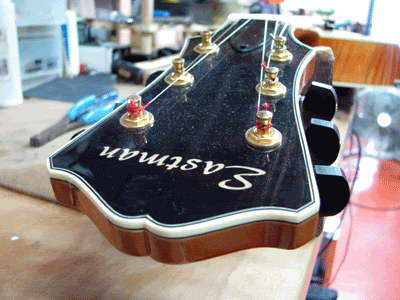
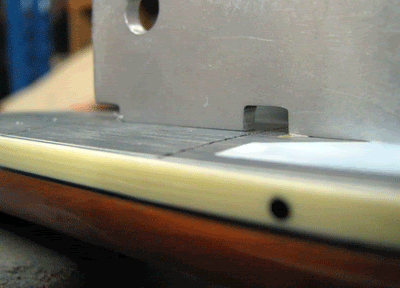
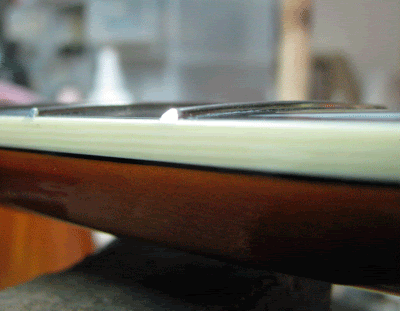
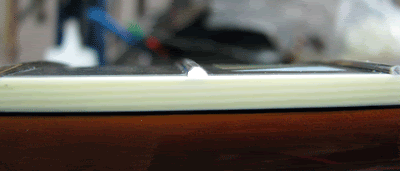
Frets popped up at the edges
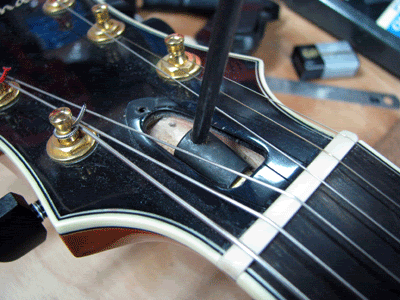
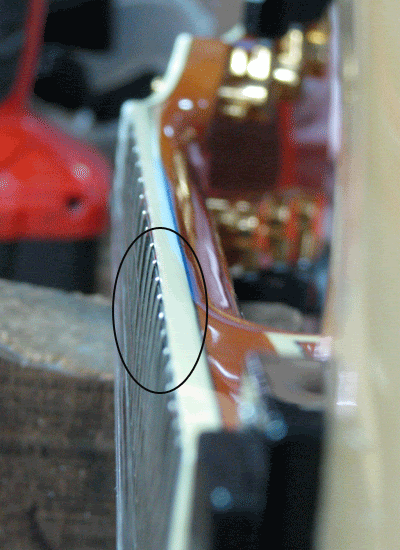
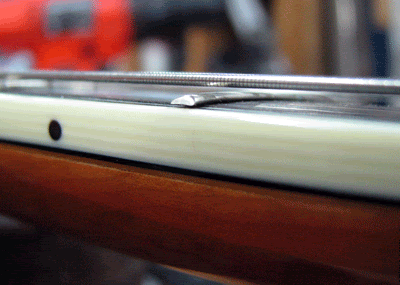
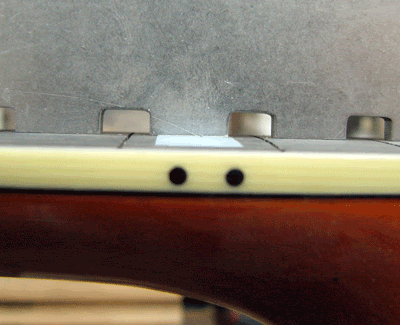
Truss rod is adjusted accordingly and from the 2nd pic, there is a clear dip in the fingerboard at the circled area. The fingerboard then rises as it goes down the upper frets causing lots of buzzing around the 12-14fret area. This is something the truss rod cannot correct. Perhaps the wood wasn't seasoned well or built in unfavourable conditions. To read the neck accurately, the strings have to be on.
With the strings on, the dip on the 12 fret is 0.010" under string tension. This gap would need to be recreated when working on the neck after the frets have been removed.
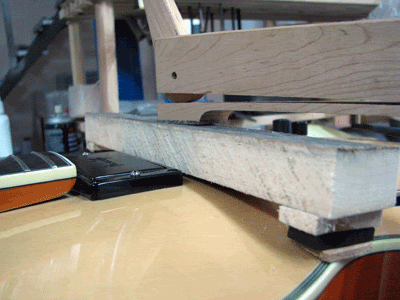
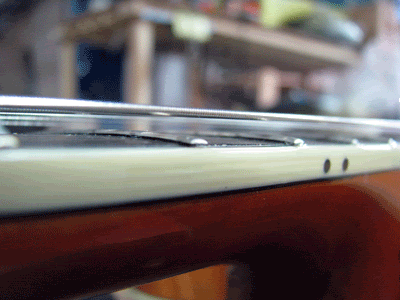
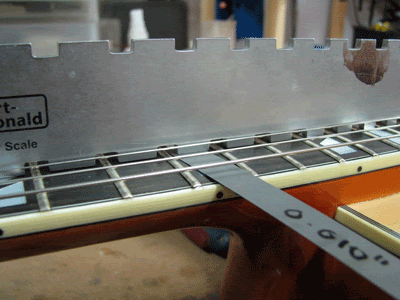
A clamping jig is put on the body to simulate string tension. I could get the same 0.010" dip at the 12 fret and the following pics show the unevenness of the fingerboard at several places on the fretboard. On the upper frets you can see the straightedge contacting the fingerboard and still experiencing a dip at the 12 fret. Hence, the upper fret area will need to be sanded down.
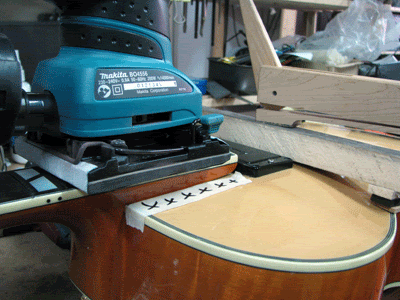
The obnoxious hump is quickly taken down with my orbital sander while under simulated string tension from the clamping jig.
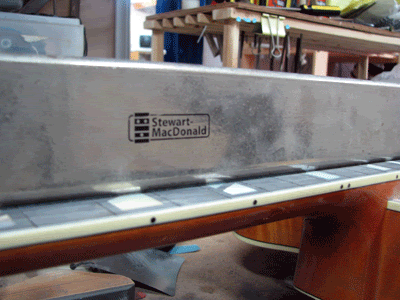
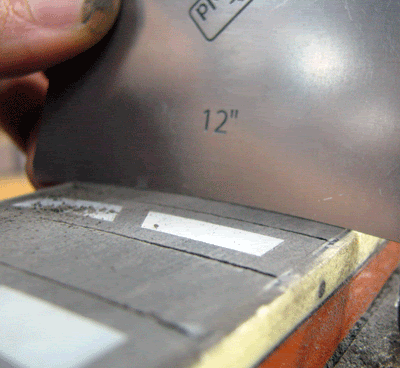
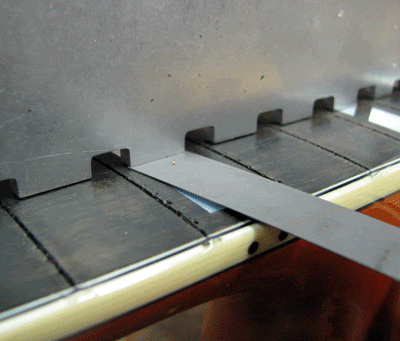
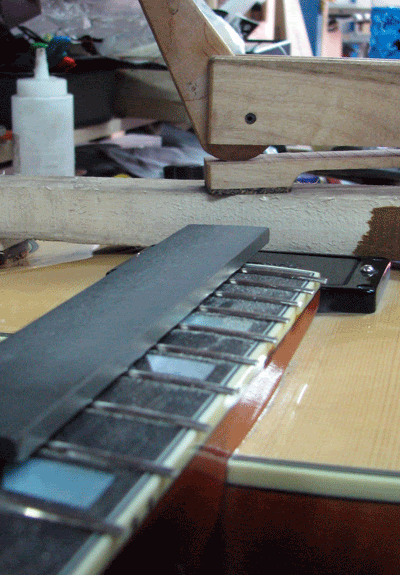
I proceed to sand the fingerboard with my steel leveling block and a regular check with the radius gauge ensures accuracy along the entire board.

After hours of preparation, the fingerboard is now level. Bear in mind this is done with simulated string tension from the clamp. Without the simulated tension, the fingerboard would read differently and the work done would be inaccurate as the upper fret hump is more pronounced under string tension.
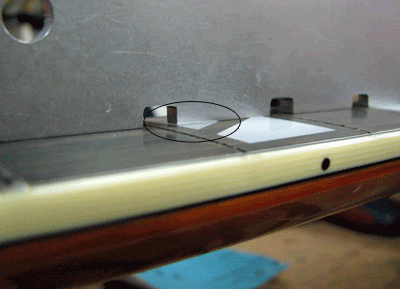
The circled area shows that I've introduced some relief at the upper frets. This minimises buzzing and allows for a low action setup.
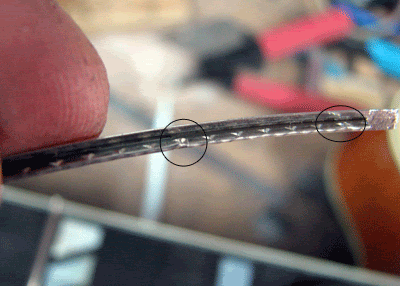
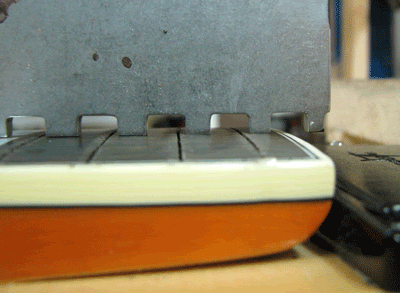
As the fret slots were cut slight wider, I had to enlarge the fret tangs as indicated by the circles. Leveling of the frets is also done under simulated string tension.
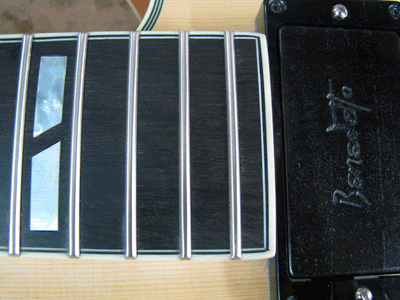
After the refret. The pictures speak for themselves :)

A comparison pic shows the before and after difference. Like Dan Erlewine would say, 'straight as an arrow'!
Hope you enjoyed that,
KC


