Dear readers,
I have shifted this blog to here.
Thank you for the support thus far.
Regards,
Kc
Wednesday, May 12, 2010
Wednesday, May 5, 2010
Ready made Evidence audio cables now available @ ZenGuitarWerkz
Ready made Evidence audio cables are now available at ZenGuitarWerkz. They include 10/15 feet Melody/LyricHg with straight/straight, angle/straight and straight/angle plug configurations. We also have 1 feet Monorail patch cables with the same plug configurations. Melody and Monorail are paired with Amphenol plugs and... LyricHg is paired with Neutrik plugs. All Evidence audio cables feature a solid core. -isaiah
Tuesday, May 4, 2010
Acoustic Bridge conversion (right to left)
Here's a sweet sounding Yamaha FG730S that requires a saddle slot modification. The owner plays left handed so time to fill up the saddle slot and make a new one.
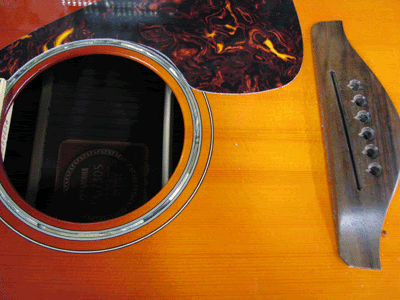
Guitar before surgery
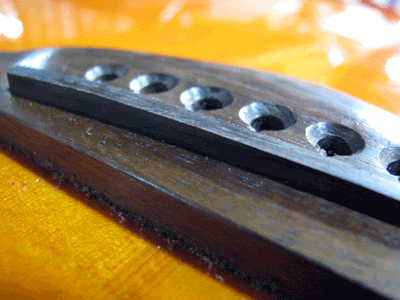
Rosewood shim is cut out and planed to the correct thickness.
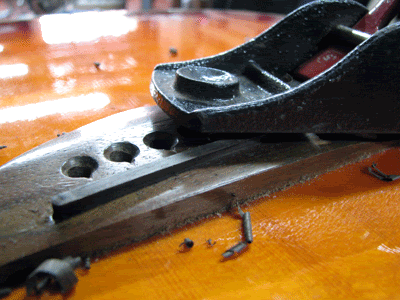
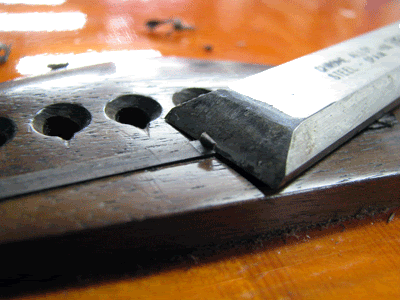
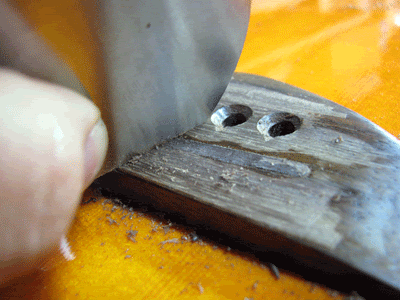
The rosewood shim is then planed, chiseled and scraped.
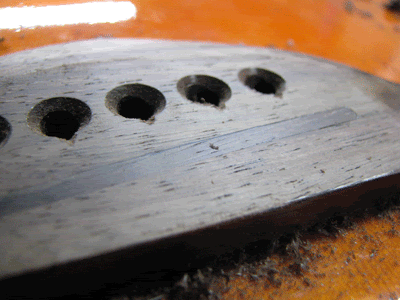
The prep work paid off and the bridge has a nice sheen only a properly scraped surface can give.
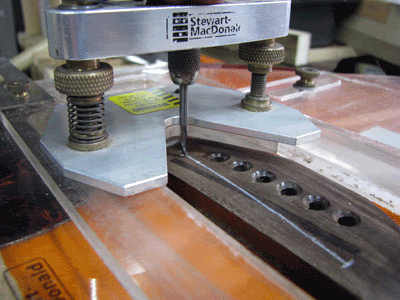
The new saddle position is determined and marked out with a white pencil. Routing with my bridge slotting jig and dremel tool begins.
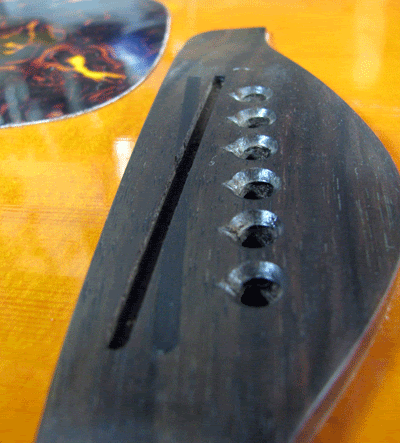
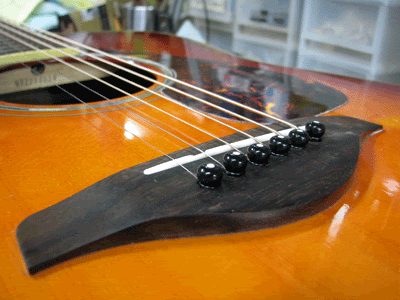
I'm very pleased with the work as it turned out nice and clean. The owner should be as happy as me :)
KC

Guitar before surgery

Rosewood shim is cut out and planed to the correct thickness.


The rosewood shim is then planed, chiseled and scraped.

The prep work paid off and the bridge has a nice sheen only a properly scraped surface can give.

The new saddle position is determined and marked out with a white pencil. Routing with my bridge slotting jig and dremel tool begins.


I'm very pleased with the work as it turned out nice and clean. The owner should be as happy as me :)
KC
Tuesday, April 20, 2010
EKO 12 string
Here's a vintage Eko 12 strinng with a very bad neck angle. As it is a bolt on neck, adding shims would fix the problem. I could've just used paper shims but making 2 wood shims would be more appropriate and also a time to hone those woodworking skills.
Here's how it went:
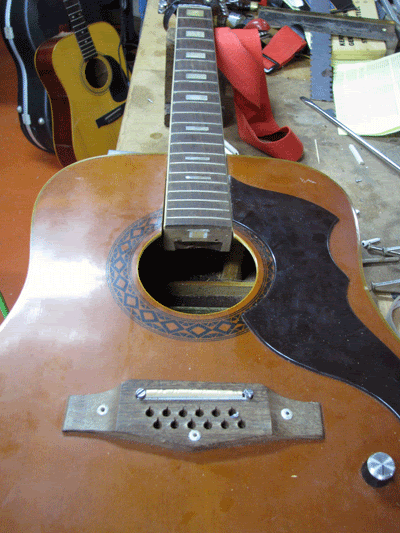
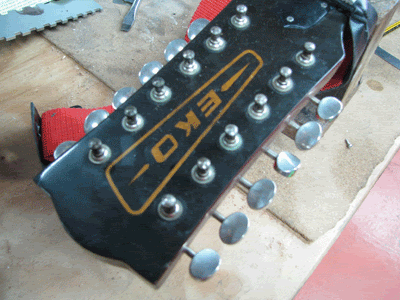
A 70s Eko I believe.
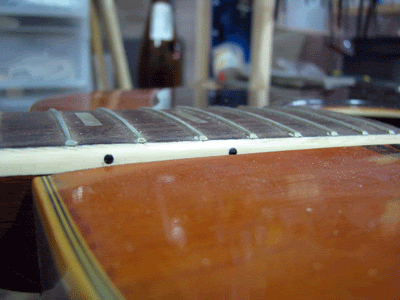
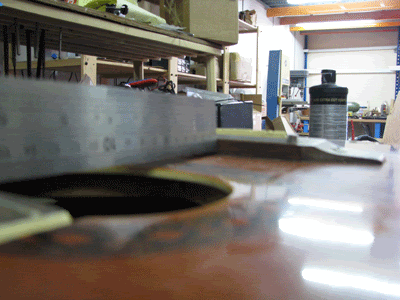
Neck angle is horribly wrong and as a result has unplayable action.
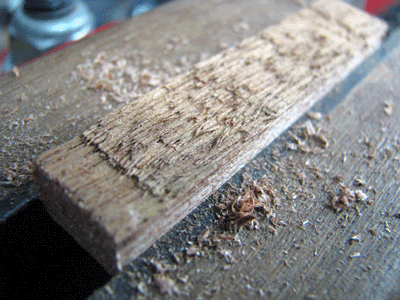
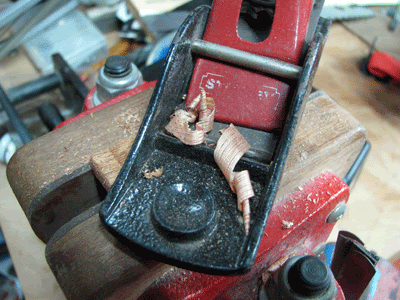
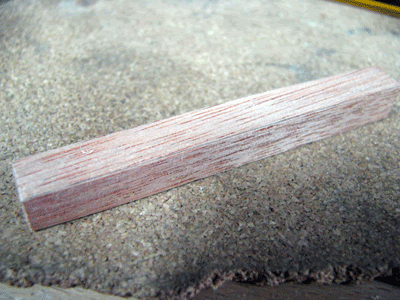
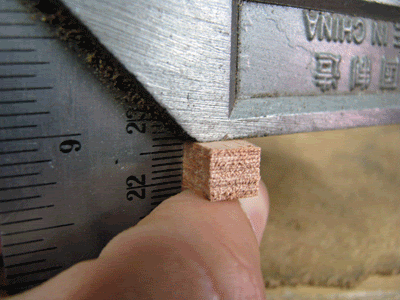
A small piece of scrap sapele is used to make the shim. After planing and shaping, a carpenter square is used to check that all the edges are square.
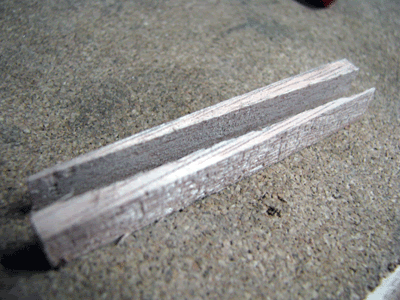
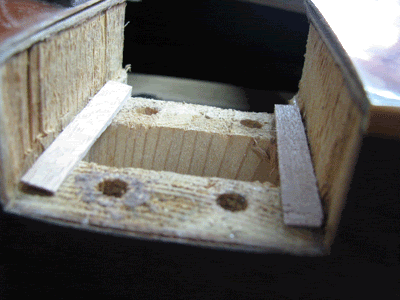
The shim is finalised and put into the neck cavity.
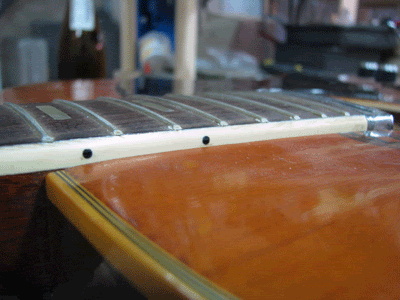
After bolting the neck back on, the neck angle is now correct.
Here's how it went:


A 70s Eko I believe.


Neck angle is horribly wrong and as a result has unplayable action.


A small piece of scrap sapele is used to make the shim. After planing and shaping, a carpenter square is used to check that all the edges are square.


The shim is finalised and put into the neck cavity.

After bolting the neck back on, the neck angle is now correct.
Thursday, April 8, 2010
BC Rich Truss Rod replacment
Here's a USA BC rich bass from the 80s (Yes, the original BC rich). Fretboard has come apart and the truss rod has rusted so badly it looks like it a relic fished out by Jacques Yves Cousteau.
Anyway here are some snap shots of how it went:
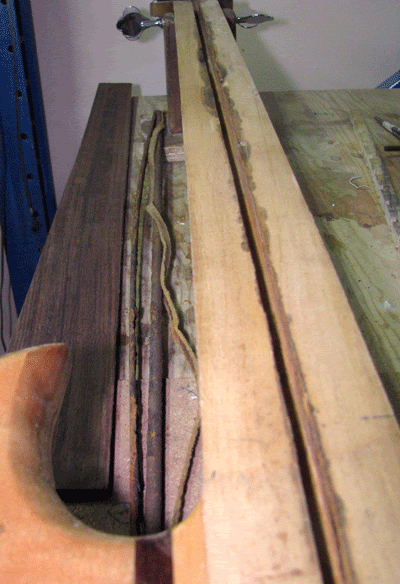
Look how badly the truss rod has rusted
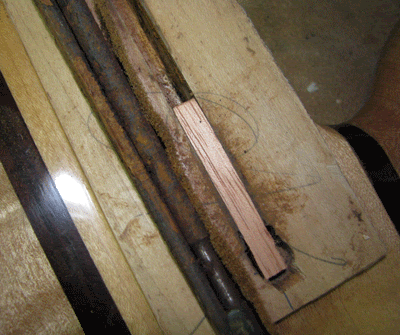
A closer look at the rusted truss rod. As the new truss rod is slightly shorter, I filled up the excess length in the old cavity.
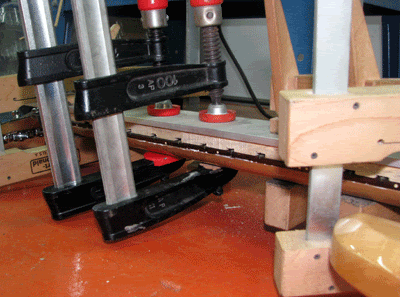
The fingerboard is clamped and left to set.
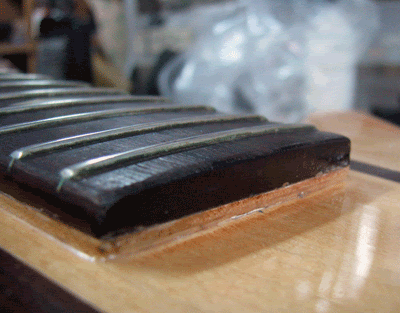
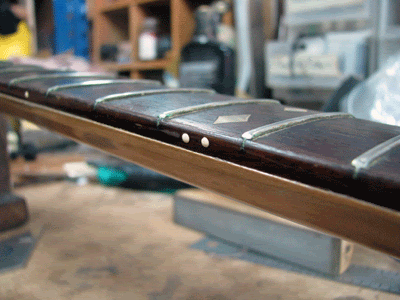
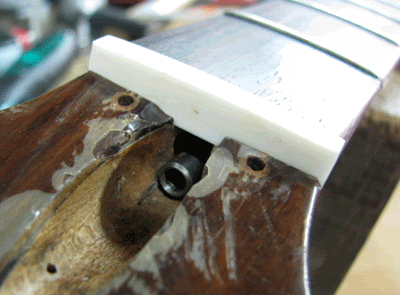
After the clamps are removed, the excess glue is cleaned up and the new truss rod works great. A pity that I forgot to take a pic of the entire bass!
Anyway here are some snap shots of how it went:

Look how badly the truss rod has rusted

A closer look at the rusted truss rod. As the new truss rod is slightly shorter, I filled up the excess length in the old cavity.

The fingerboard is clamped and left to set.


After the clamps are removed, the excess glue is cleaned up and the new truss rod works great. A pity that I forgot to take a pic of the entire bass!
Thursday, March 18, 2010
Classical Guitar bridge reglue
Here is a Joan Castimita Classical guitar which requires a bridge reglue. Here's how it went:

Guitar's Decal
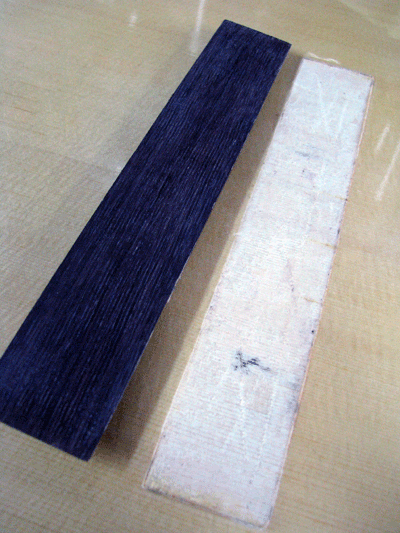
Surfaces cleaned up nicely before gluing
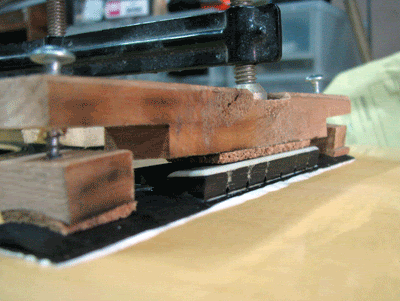
Bridge is clamped by using a self made clamping jig; not the prettiest looking but it works great. Glue squeeze out shows that the surfaces mate well.
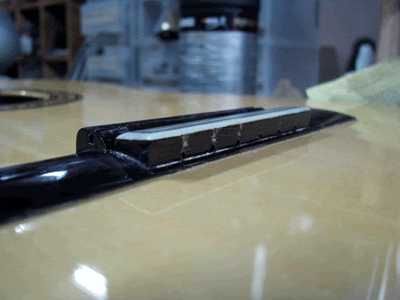
Excess glue is cleaned up and the guitar is ready to be strung.

Guitar's Decal

Surfaces cleaned up nicely before gluing

Bridge is clamped by using a self made clamping jig; not the prettiest looking but it works great. Glue squeeze out shows that the surfaces mate well.

Excess glue is cleaned up and the guitar is ready to be strung.
Wednesday, March 17, 2010
Removing the finish from a Fender neck
Here's a 57 RI Japanese Fender neck that was sent in to get its finish removed. Here's how it went:
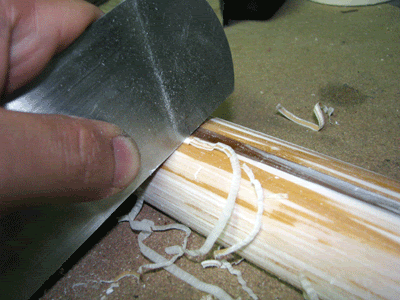
Finish is scraped using a scraper. A scraper is a traditional woodworking tool and still favoured today by many luthiers and woodworkers.
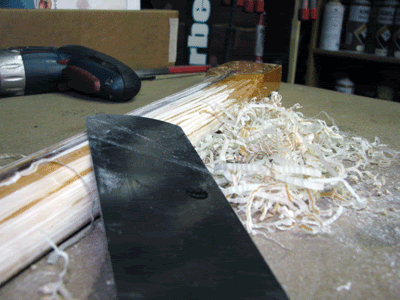
Using a scraper is quick and does not create dust problems
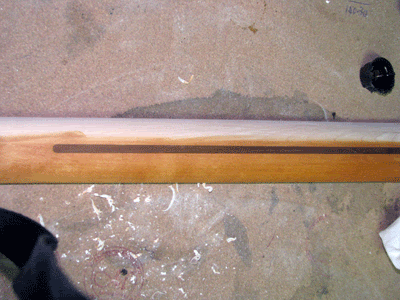
After scraping, I sanded the neck down and stained it with Colron 'Antique Pine' stain. The colour matches the original one quite well.
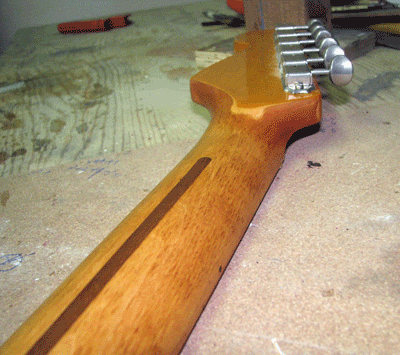
After they stain has dried, I gave it a coat of wax and the neck not only looks aged, it also feels great without that 'sticky' feeling the original finish had

Finish is scraped using a scraper. A scraper is a traditional woodworking tool and still favoured today by many luthiers and woodworkers.

Using a scraper is quick and does not create dust problems

After scraping, I sanded the neck down and stained it with Colron 'Antique Pine' stain. The colour matches the original one quite well.

After they stain has dried, I gave it a coat of wax and the neck not only looks aged, it also feels great without that 'sticky' feeling the original finish had
Saturday, February 13, 2010
Basic guitar repair tools to get started
Many guitarists have asked me what tools they would need to get started doing guitar setups and minor repairs. Besides the basic screwdrivers, allen keys/wrenches and basic files I have a short of list of recommendations below:
Essentials would be:
1) Hammer of appropriate weight: For knocking in loose frets
2) Fret leveling files (rough/smooth)
3) Straight Edge: To read the fingerboard
4) Nut files for nut slots (duh)
5) Fret crowning file: For rounding the frets after leveling
6) Chisel: For removing excess glue in nut slots/frets and to notch string slots in acoustic guitar bridges
7) Sharpening stone: For chisels, scissors etc.
8) Reamer: For enlarging holes in wood
9) Radius gauge: To check fingerboard consistency
10)A huge dose of passion and patience
11)Lots of talent :P
Some of the tools above, you can buy from luthiery supply stores such as stewart mcdonald and LMI. Prepare to set aside $400 - $600 SGD for the basic essentials listed above and then be welcomed to the world of guitar repair.
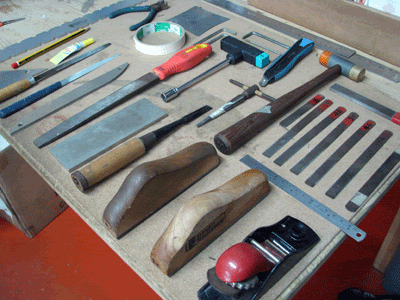
These tools would suffice for 90% of the DIYers out there.
If you're still apprehensive, the easiest solution would be to send your guitars to the Maestro Guitar Hospital where I have access to all the necessary tools to give your guitar the setup you desire.
Essentials would be:
1) Hammer of appropriate weight: For knocking in loose frets
2) Fret leveling files (rough/smooth)
3) Straight Edge: To read the fingerboard
4) Nut files for nut slots (duh)
5) Fret crowning file: For rounding the frets after leveling
6) Chisel: For removing excess glue in nut slots/frets and to notch string slots in acoustic guitar bridges
7) Sharpening stone: For chisels, scissors etc.
8) Reamer: For enlarging holes in wood
9) Radius gauge: To check fingerboard consistency
10)A huge dose of passion and patience
11)Lots of talent :P
Some of the tools above, you can buy from luthiery supply stores such as stewart mcdonald and LMI. Prepare to set aside $400 - $600 SGD for the basic essentials listed above and then be welcomed to the world of guitar repair.

These tools would suffice for 90% of the DIYers out there.
If you're still apprehensive, the easiest solution would be to send your guitars to the Maestro Guitar Hospital where I have access to all the necessary tools to give your guitar the setup you desire.
Friday, February 12, 2010
Happy Chinese New Year
Wishing all those who celebrate another prosperous and successful year in both your business and personal domains
Kc
Kc
Monday, February 1, 2010
An Elaborate refret job
I've seen lately on the local forums people insisting that a refret is never simple. Well it really depends on you define 'simple'. For me, a refret is certainly tedious and requires a fair bit of elbow grease; when done meticulously. Most refrets do not require acute repair diagnostic skills as the neck is in good shape.
On the issue of a job being 'simple', it is always simple in so far as the repairman is applying the right diagnosis and methods to fix it. Things become awry when the initial diagnosis is wrong. To draw a medical analogy, a doctor who identifies the wrong symptoms will prescribe the wrong medicine and this may result in irreversible damage. What is 'simple' is relative to the tools of the beholder. When you have more knowledge and practice, a repairman learns how to identify the symptoms much like a doctor would. Ok, enough philosophical banter from me; the proof is in the pudding.
Here is an Eastman archtop which is brand new but unfortunately needs a refret as the fingerboard is uneven at many parts. This will be illustrated clearly as I post pics of the process. I'll classify this as a rare case but being able to fix this would require good knowledge of reading the neck and a certain level of intuition.
Here goes:
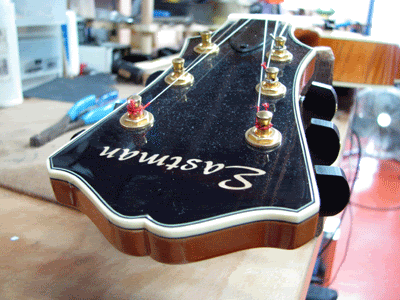
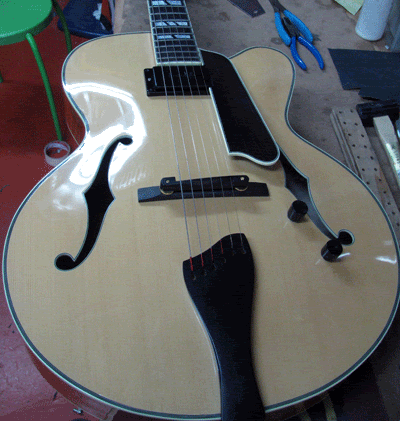
Beautiful Eastman: Great overall construction, beautiful tone but shoddy fretwork!
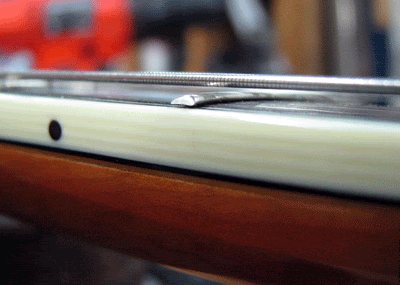
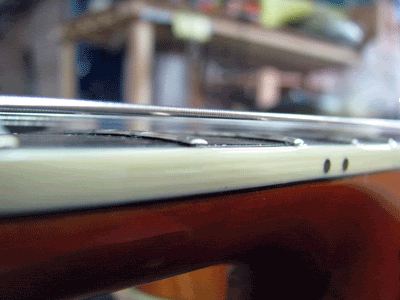
Frets popped up at the edges
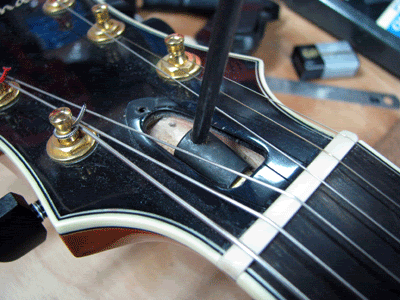
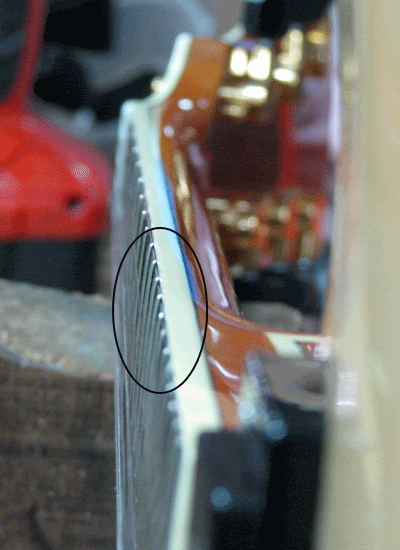
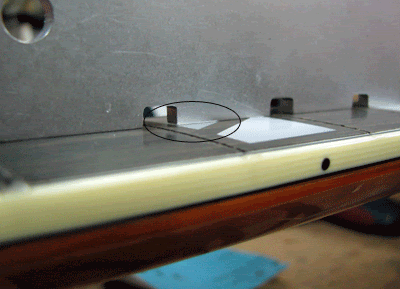
Truss rod is adjusted accordingly and from the 2nd pic, there is a clear dip in the fingerboard at the circled area. The fingerboard then rises as it goes down the upper frets causing lots of buzzing around the 12-14fret area. This is something the truss rod cannot correct. Perhaps the wood wasn't seasoned well or built in unfavourable conditions. To read the neck accurately, the strings have to be on.
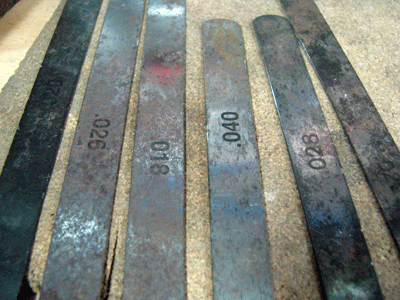
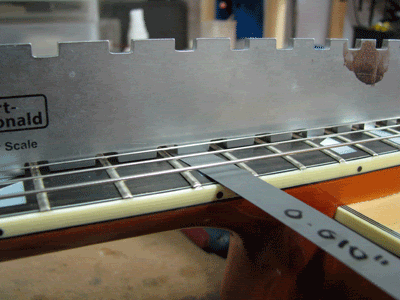
With the strings on, the dip on the 12 fret is 0.010" under string tension. This gap would need to be recreated when working on the neck after the frets have been removed.
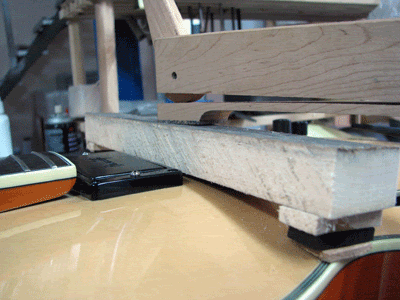
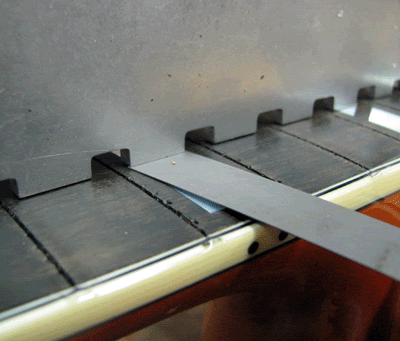
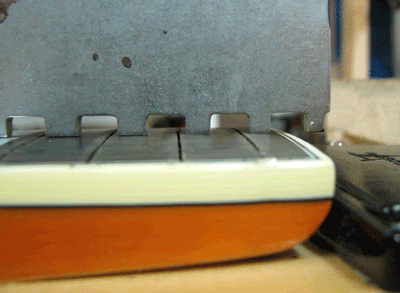
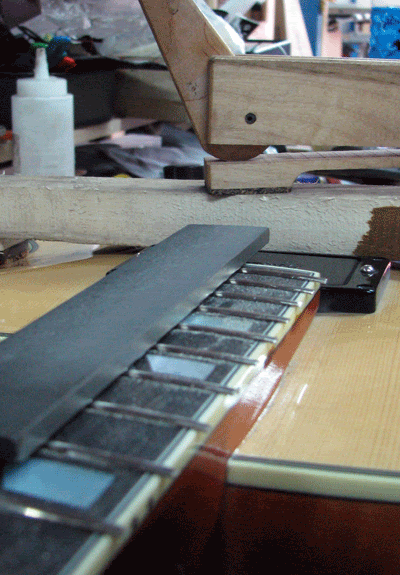
A clamping jig is put on the body to simulate string tension. I could get the same 0.010" dip at the 12 fret and the following pics show the unevenness of the fingerboard at several places on the fretboard. On the upper frets you can see the straightedge contacting the fingerboard and still experiencing a dip at the 12 fret. Hence, the upper fret area will need to be sanded down.
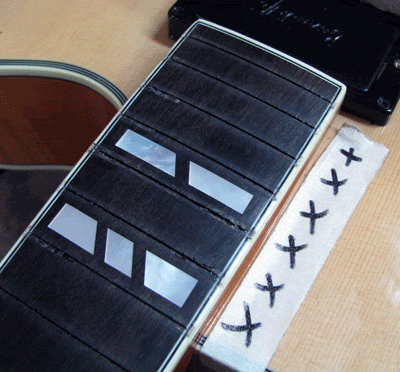
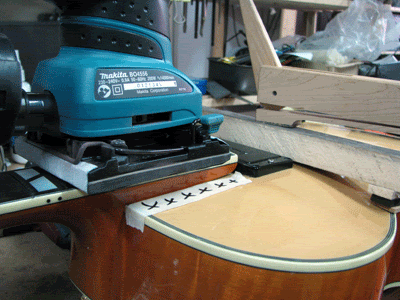
The obnoxious hump is quickly taken down with my orbital sander while under simulated string tension from the clamping jig.
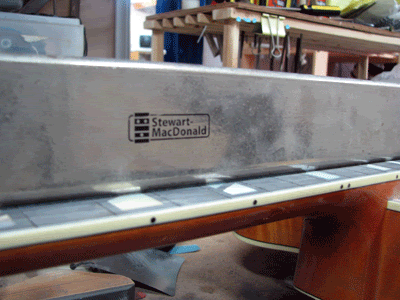
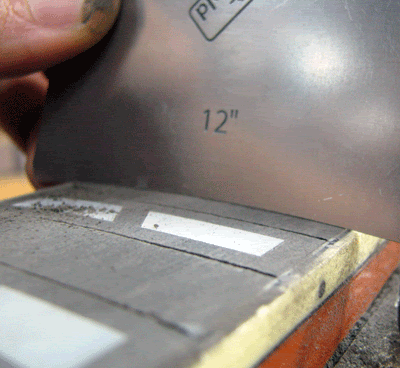
I proceed to sand the fingerboard with my steel leveling block and a regular check with the radius gauge ensures accuracy along the entire board.
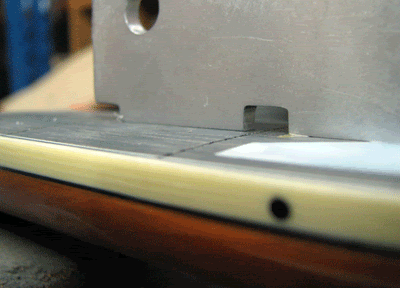
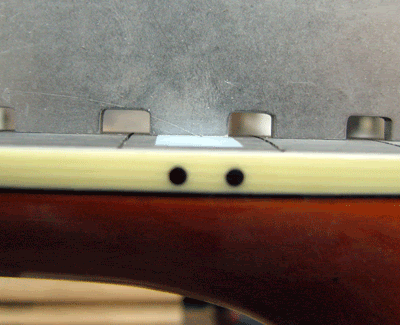
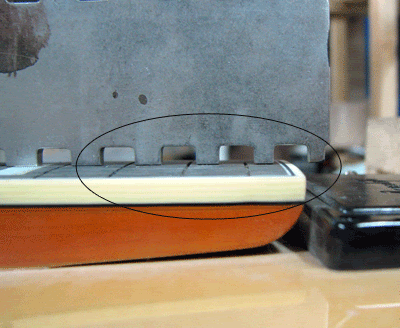
After hours of preparation, the fingerboard is now level. Bear in mind this is done with simulated string tension from the clamp. Without the simulated tension, the fingerboard would read differently and the work done would be inaccurate as the upper fret hump is more pronounced under string tension.
The circled area shows that I've introduced some relief at the upper frets. This minimises buzzing and allows for a low action setup.
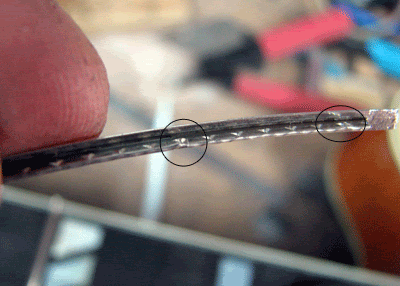
As the fret slots were cut slight wider, I had to enlarge the fret tangs as indicated by the circles. Leveling of the frets is also done under simulated string tension.
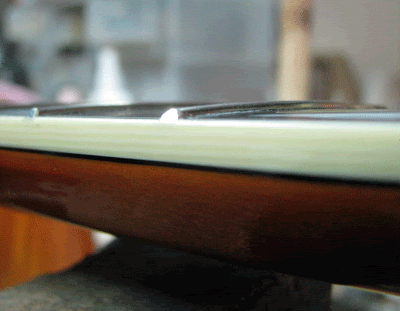

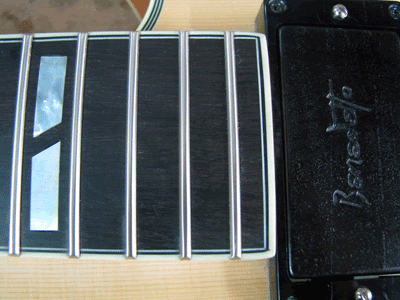
After the refret. The pictures speak for themselves :)
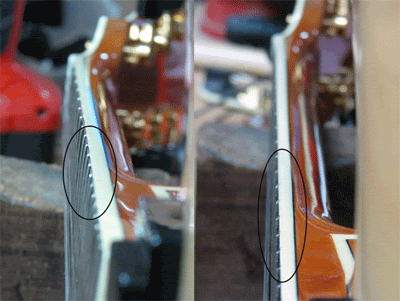
A comparison pic shows the before and after difference. Like Dan Erlewine would say, 'straight as an arrow'!
Hope you enjoyed that,
KC
On the issue of a job being 'simple', it is always simple in so far as the repairman is applying the right diagnosis and methods to fix it. Things become awry when the initial diagnosis is wrong. To draw a medical analogy, a doctor who identifies the wrong symptoms will prescribe the wrong medicine and this may result in irreversible damage. What is 'simple' is relative to the tools of the beholder. When you have more knowledge and practice, a repairman learns how to identify the symptoms much like a doctor would. Ok, enough philosophical banter from me; the proof is in the pudding.
Here is an Eastman archtop which is brand new but unfortunately needs a refret as the fingerboard is uneven at many parts. This will be illustrated clearly as I post pics of the process. I'll classify this as a rare case but being able to fix this would require good knowledge of reading the neck and a certain level of intuition.
Here goes:


Beautiful Eastman: Great overall construction, beautiful tone but shoddy fretwork!


Frets popped up at the edges


Truss rod is adjusted accordingly and from the 2nd pic, there is a clear dip in the fingerboard at the circled area. The fingerboard then rises as it goes down the upper frets causing lots of buzzing around the 12-14fret area. This is something the truss rod cannot correct. Perhaps the wood wasn't seasoned well or built in unfavourable conditions. To read the neck accurately, the strings have to be on.


With the strings on, the dip on the 12 fret is 0.010" under string tension. This gap would need to be recreated when working on the neck after the frets have been removed.


A clamping jig is put on the body to simulate string tension. I could get the same 0.010" dip at the 12 fret and the following pics show the unevenness of the fingerboard at several places on the fretboard. On the upper frets you can see the straightedge contacting the fingerboard and still experiencing a dip at the 12 fret. Hence, the upper fret area will need to be sanded down.


The obnoxious hump is quickly taken down with my orbital sander while under simulated string tension from the clamping jig.


I proceed to sand the fingerboard with my steel leveling block and a regular check with the radius gauge ensures accuracy along the entire board.


After hours of preparation, the fingerboard is now level. Bear in mind this is done with simulated string tension from the clamp. Without the simulated tension, the fingerboard would read differently and the work done would be inaccurate as the upper fret hump is more pronounced under string tension.
The circled area shows that I've introduced some relief at the upper frets. This minimises buzzing and allows for a low action setup.


As the fret slots were cut slight wider, I had to enlarge the fret tangs as indicated by the circles. Leveling of the frets is also done under simulated string tension.


After the refret. The pictures speak for themselves :)

A comparison pic shows the before and after difference. Like Dan Erlewine would say, 'straight as an arrow'!
Hope you enjoyed that,
KC
Subscribe to:
Comments (Atom)