I was at bluejazz last Fri and there was a groovy band playing some jazz and funk. Check them out.
Tuesday, December 29, 2009
Monday, December 21, 2009
Back from Manila
Amidst the chaos of traffic and cheerful dispositions I found an ancestral home called the 'La Concina Tita Moning. It was a home which used to house a wealthy Spanish/Filipino family and now preserved and converted into a restaurant. The experience was mind blowing and here's what I found in the house.
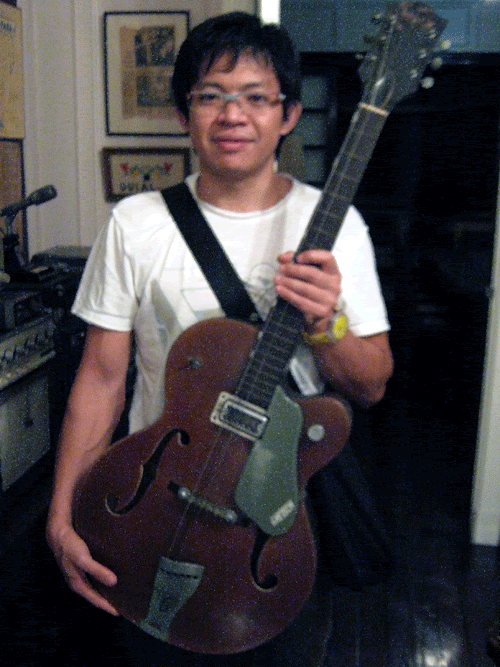
A 60s Gretsch still in playable condition. Surrounding it were old 50s-60s radio equipment.
More Pics to follow soon!
KC

A 60s Gretsch still in playable condition. Surrounding it were old 50s-60s radio equipment.
More Pics to follow soon!
KC
Tuesday, December 1, 2009
Away in Dec
Dear Guitar Hospital followers,
I will be away for most of Dec, if possible, send in your guitars only after the 21 this month. Thank you and sorry for the inconvenience.
KC
I will be away for most of Dec, if possible, send in your guitars only after the 21 this month. Thank you and sorry for the inconvenience.
KC
Wednesday, November 25, 2009
Ibanez Jem Refret
After tackling the maple board, it's time to refret an ebony board which can sometimes be prone to chipping. Here's how it went:
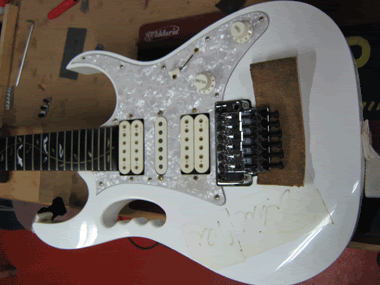
Before entering the operating theatre.
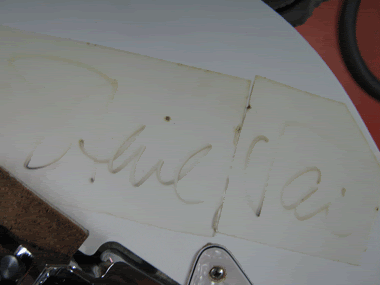
Steve Vai's signature which offers no particular significance nonetheless.
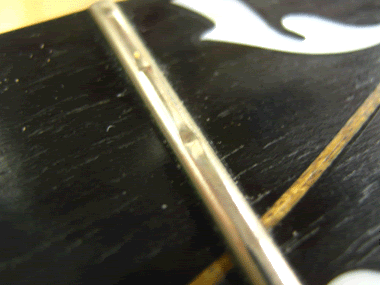
Worn out frets. Not particularly bad, but the owner wanted a change in fret size and some notes were choking on the upper frets
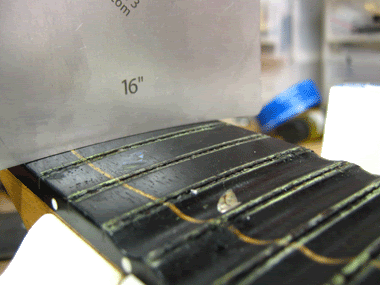
Frets are removed and the fingerboard is checked with a radius gauge. 16" radius it is.
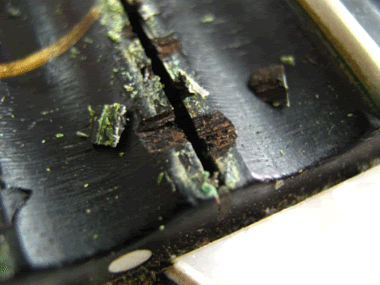
Inevitably, some chipping occurred as the frets were removed.
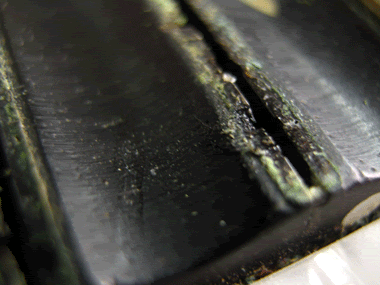
Chip is reglued.
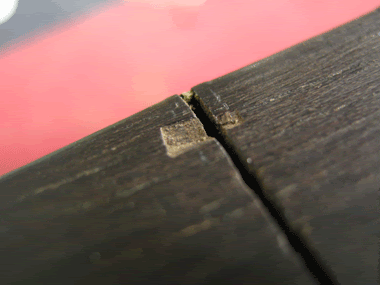
Another chip.
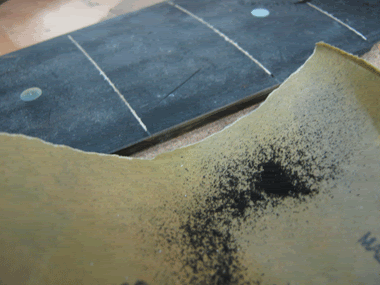
Ebony dust is also used to touch up the chipped areas.
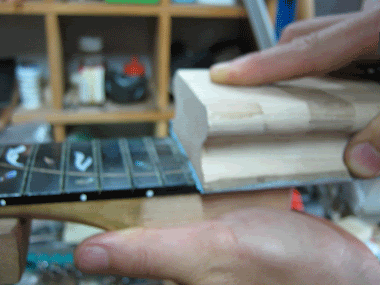
Using a 16" radius block, the fingerboard is sanded down.
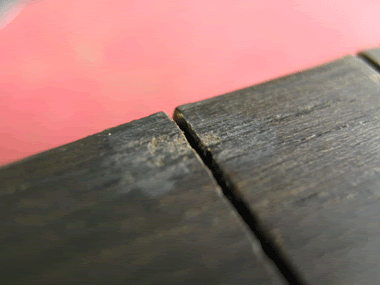
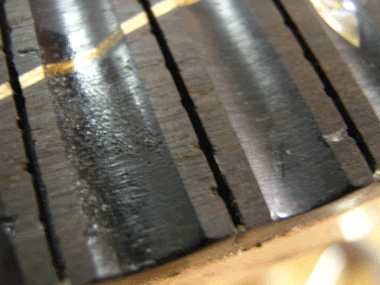
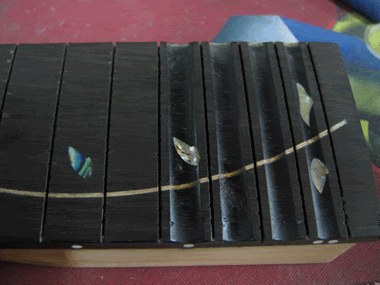
After leveling the fingerboard, the chipped areas look acceptable. After putting on the frets, the repair should be near invisible.
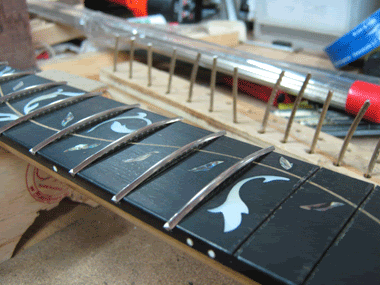
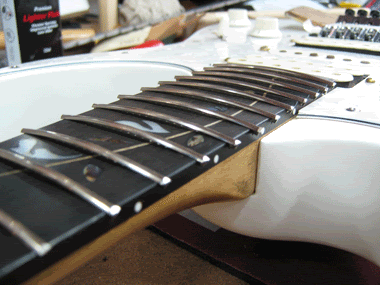
The frets are seated in with a hammer and ready to be pressed in.
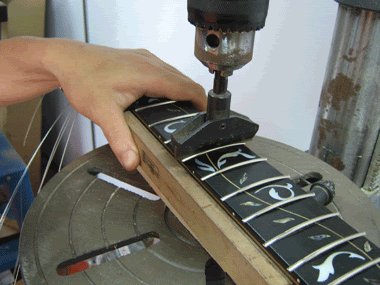
Frets are pressed in with a radius caul on the drill press. I don't always use the radius caul to press in the frets and actually I prefer the hammer most of the time.
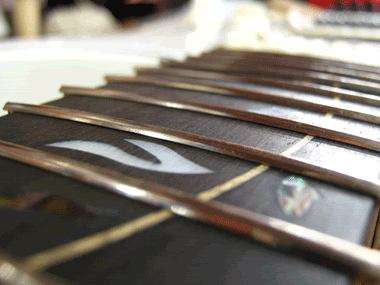
The frets are pressed in to perfection - absolutely no gaps showing :)
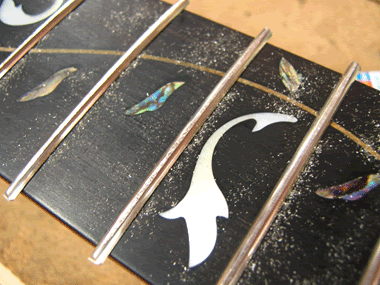
Frets are leveled and due to the meticulous fretboard prep, only a light level is needed.
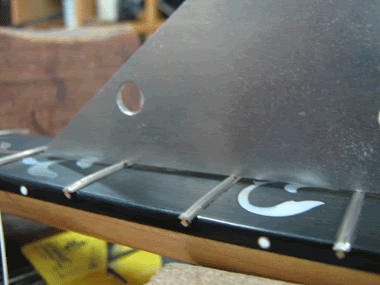
Routinely, the frets are checked with a straight edge. No problems here.
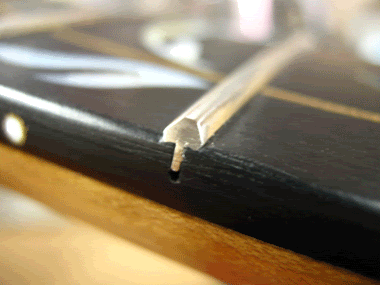
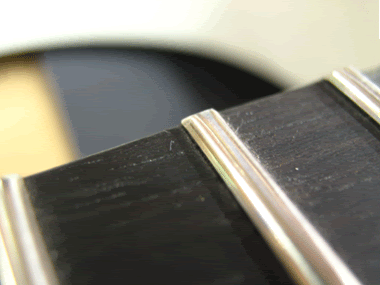
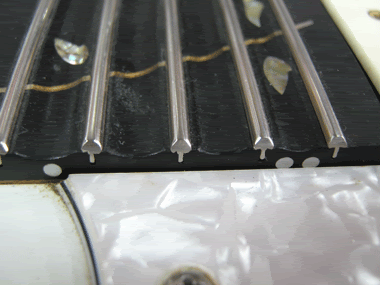
The frets are trimmed, crowned and polished. As you can see from the various angles, the fret ends are rounded off for playing comfort.
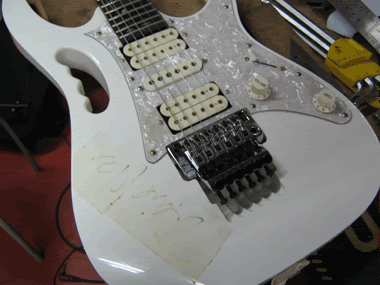
Guitar is strung up and ready to rock!
Hope you enjoyed that,
KC

Before entering the operating theatre.

Steve Vai's signature which offers no particular significance nonetheless.

Worn out frets. Not particularly bad, but the owner wanted a change in fret size and some notes were choking on the upper frets

Frets are removed and the fingerboard is checked with a radius gauge. 16" radius it is.

Inevitably, some chipping occurred as the frets were removed.

Chip is reglued.

Another chip.

Ebony dust is also used to touch up the chipped areas.

Using a 16" radius block, the fingerboard is sanded down.


After leveling the fingerboard, the chipped areas look acceptable. After putting on the frets, the repair should be near invisible.


The frets are seated in with a hammer and ready to be pressed in.

Frets are pressed in with a radius caul on the drill press. I don't always use the radius caul to press in the frets and actually I prefer the hammer most of the time.

The frets are pressed in to perfection - absolutely no gaps showing :)

Frets are leveled and due to the meticulous fretboard prep, only a light level is needed.

Routinely, the frets are checked with a straight edge. No problems here.


The frets are trimmed, crowned and polished. As you can see from the various angles, the fret ends are rounded off for playing comfort.

Guitar is strung up and ready to rock!
Hope you enjoyed that,
KC
Sunday, November 22, 2009
Refretting a maple Strat neck
I have here a 57 RI Fender Strat which needs a refret. Maple necks are hard to handle and some lacquer chipping usually occurs no matter how careful one is. Certainly, the best way is to relacquer the neck, but sometimes cost is a consideration and here, I'll have to work with the original lacquer. Here goes:
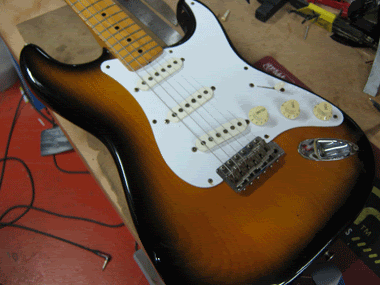
Handsome looking burst
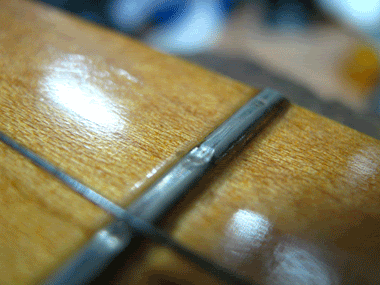
Original frets have worn out
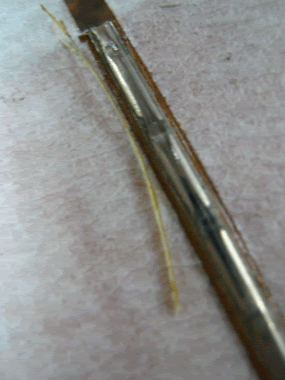
The lacquer overhanging the fret is adroitly removed with an Xacto knife.
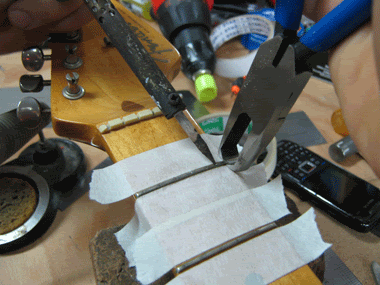
Frets are heated up and removed with a cutter ground flat at the jaws.
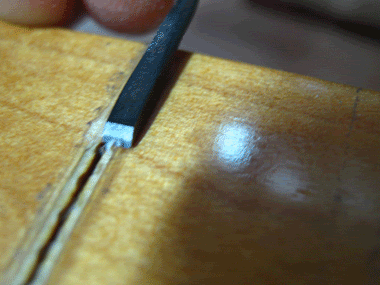
Some lacquer buildup is still present and a micro chisel is used to fix that.
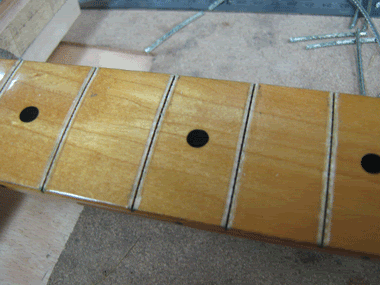
Frets removed and not much major chipping
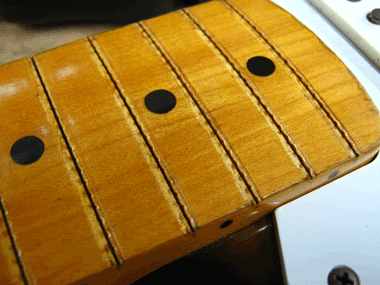
I then stained the maple to give the neck an even look throughout. This allows an acceptable appearance when touching up the chips with lacquer later.
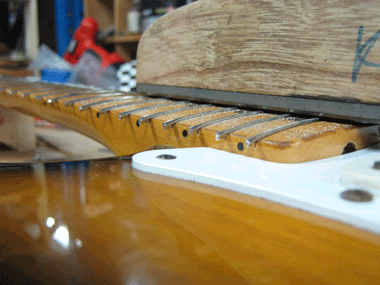
The frets are hammered/pressed in and a fret level is being done.
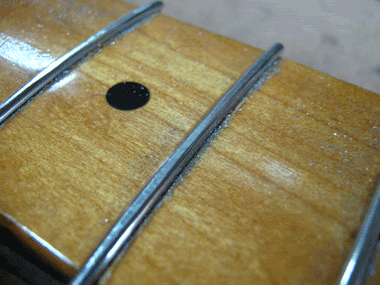
As the frets were hammered in nice and tight, only a very light level was needed as you can see from the metal filings.
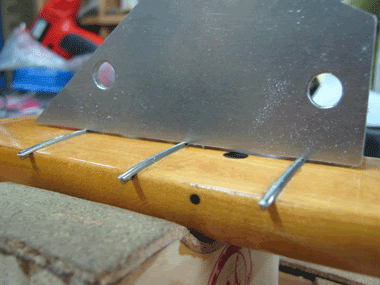
Quick check across the frets revealed no problems.
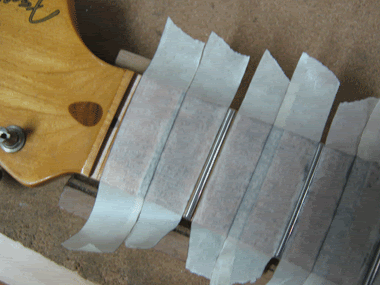
The fingerboard is taped up once more and the frets are crowned, trimmed and polished.
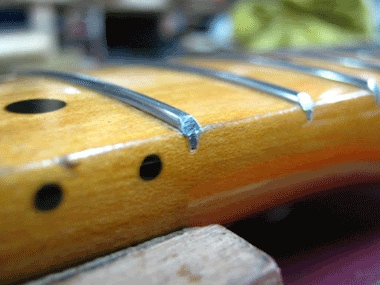
Finally, the end result. The neck feels new and plays well again.
KC

Handsome looking burst

Original frets have worn out

The lacquer overhanging the fret is adroitly removed with an Xacto knife.

Frets are heated up and removed with a cutter ground flat at the jaws.

Some lacquer buildup is still present and a micro chisel is used to fix that.

Frets removed and not much major chipping

I then stained the maple to give the neck an even look throughout. This allows an acceptable appearance when touching up the chips with lacquer later.

The frets are hammered/pressed in and a fret level is being done.

As the frets were hammered in nice and tight, only a very light level was needed as you can see from the metal filings.

Quick check across the frets revealed no problems.

The fingerboard is taped up once more and the frets are crowned, trimmed and polished.

Finally, the end result. The neck feels new and plays well again.
KC
Sunday, November 15, 2009
What goes in your Setup (Acoustic)
Continuing the 'What goes in your setup' series, we have here a Larivee L-03 acoustic guitar. I would consider it a mid to higher end production guitar and as you will see, many of the problems associated with guitars has nothing to do with the price. A higher priced instrument can eventually develop fret problems.
Here's the process in its entirety:
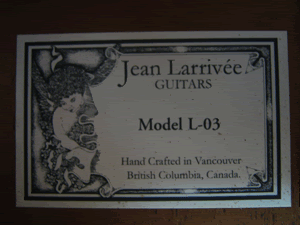
I'm impressed by my Powershot's as well as my own limited abilities :)
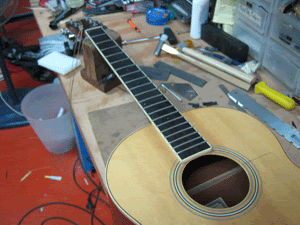
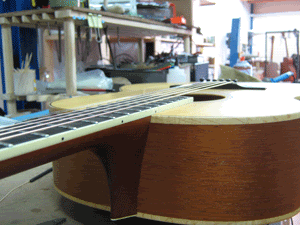
Guitar sitting on my workbench feeling helpless.
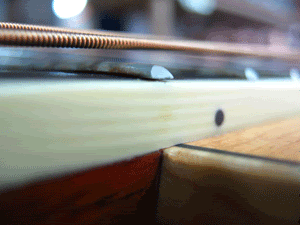
Many frets have popped up at the ends and this is the first thing to fix
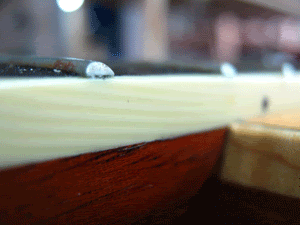
Fret reglued. This is a time consuming process and in total I glued in more about 20 loose ends which took about 30 mins.
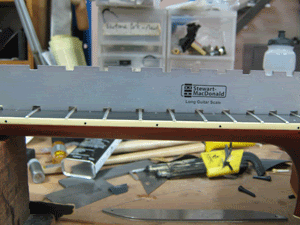
A notched straightedge is used to set the neck perfectly level (truss rod needing adjustment of course!)
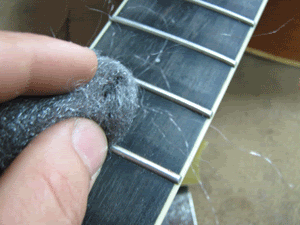
Frets are polished with steel wool.
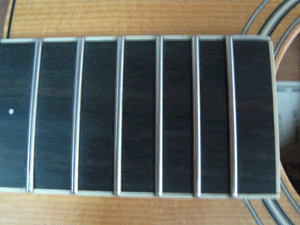
Nice and clean.
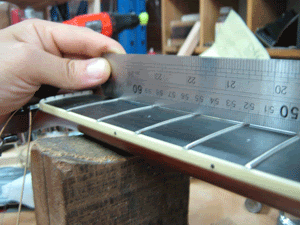
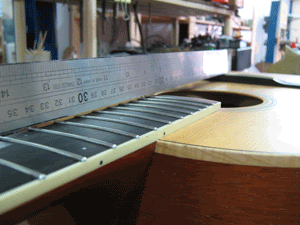
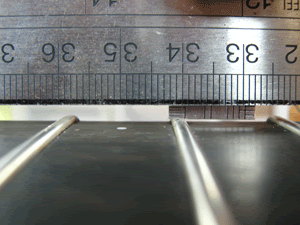
The nut action didn't need any tweaking so I proceeded to measure the action with a long ruler. At the 12 fret it measured about 2.2mm on both the bass and treble. I had to take down the treble side more. Point to note: to reduce action on the 12 fret fret by 1mm, approximately 2 mm had to be taken down on the saddle. Good ole trigonometry at work here, finally a use for it so many years after leaving school!
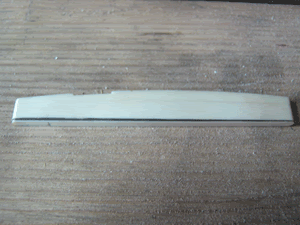
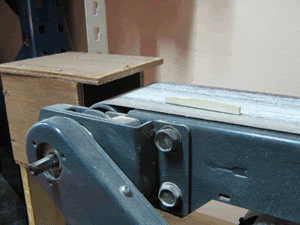
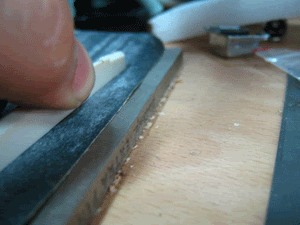
Saddle is brought to the appropriate height. Final sanding on a flat surface is crucial to good contact with the bridge, hence producing better tone.
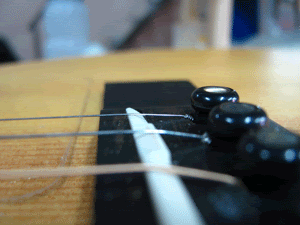
Upon stringing up, I realised there was a 'sitar' like sound on the high E. A quick check revealed a poor break angle to to the bridge pin. Notice how shallow the angle is compared to the rest of the strings.
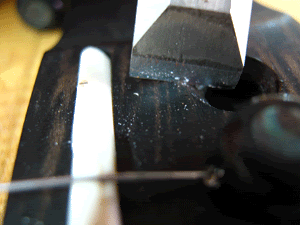
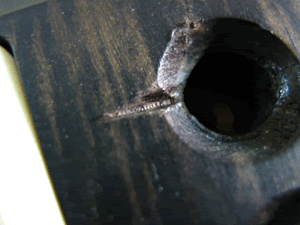
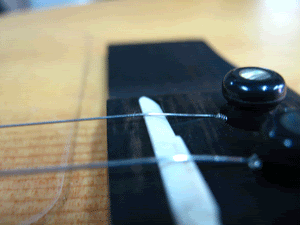
Without haste, I put my chisel to work and notched a deeper string slot groove at the bridge pin hole. Now, the break angle is much more desirable and the 'sitar' like sound is gone.
After stringing up and a wipe down, I couldn't put this baby down. A great setup could make all the difference, regardless of the price of your guitar.
Here's the process in its entirety:

I'm impressed by my Powershot's as well as my own limited abilities :)

Guitar sitting on my workbench feeling helpless.

Many frets have popped up at the ends and this is the first thing to fix

Fret reglued. This is a time consuming process and in total I glued in more about 20 loose ends which took about 30 mins.

A notched straightedge is used to set the neck perfectly level (truss rod needing adjustment of course!)

Frets are polished with steel wool.

Nice and clean.


The nut action didn't need any tweaking so I proceeded to measure the action with a long ruler. At the 12 fret it measured about 2.2mm on both the bass and treble. I had to take down the treble side more. Point to note: to reduce action on the 12 fret fret by 1mm, approximately 2 mm had to be taken down on the saddle. Good ole trigonometry at work here, finally a use for it so many years after leaving school!


Saddle is brought to the appropriate height. Final sanding on a flat surface is crucial to good contact with the bridge, hence producing better tone.

Upon stringing up, I realised there was a 'sitar' like sound on the high E. A quick check revealed a poor break angle to to the bridge pin. Notice how shallow the angle is compared to the rest of the strings.


Without haste, I put my chisel to work and notched a deeper string slot groove at the bridge pin hole. Now, the break angle is much more desirable and the 'sitar' like sound is gone.

After stringing up and a wipe down, I couldn't put this baby down. A great setup could make all the difference, regardless of the price of your guitar.
Subscribe to:
Comments (Atom)